
🧵 Creative practice · Guide
Mend Clothes By Hand
Five repairs that cover most of what goes wrong with everyday clothes
Mend Clothes By Hand
Five repairs that cover most of what goes wrong with everyday clothes
Your name
A4 · this is a layout preview in the “Terminal” design. When you generate, the studio writes every chapter in full, paints the cover and chapter art, and composes a downloadable A4 PDF with your name, bio and store link on it.
Almost everything that ruins a garment is one of five small failures, and every one of them can be fixed by hand at a kitchen table. No machine, no pattern, no course. This guide covers those five repairs in the order you are most likely to need them.
What's inside
- 1The Small Kit That Covers Most JobsWhat genuinely belongs in a repair tin, what to spend a little more on, and how to store it so it gets used. After this chapter you will have a working kit assembled and a place to keep it.
- 2Buttons That Stay OnSewing a button with a thread shank so the fabric sits properly, plus how to steal a matching button from a hidden seam. You will be able to replace any flat or shank button in about five minutes.
- 3Closing A Seam By HandLadder stitch and backstitch, when each is the right choice, and how to secure the ends so the repair outlasts the seam beside it. After this you can close a split seam invisibly from the right side.
- 4Patching Knees And ElbowsCutting a patch with the grain, placing it inside or outside, and stitching it so it flexes with the garment. You will finish able to patch worn knees on jeans and elbows on knitwear.
- 5Hems, Turn-Ups And LengthMeasuring a new length while the garment is worn, pressing the fold and stitching a hem that does not show. After this chapter you can shorten trousers or a skirt without a machine.
- 6Darning A Knitted HoleStabilising the edges of a hole in knitwear, weaving a new patch of fabric across it, and choosing whether to hide or show the repair. You will end able to darn a jumper hole and a sock heel.
A sample from chapter one
The kit that covers most repairs
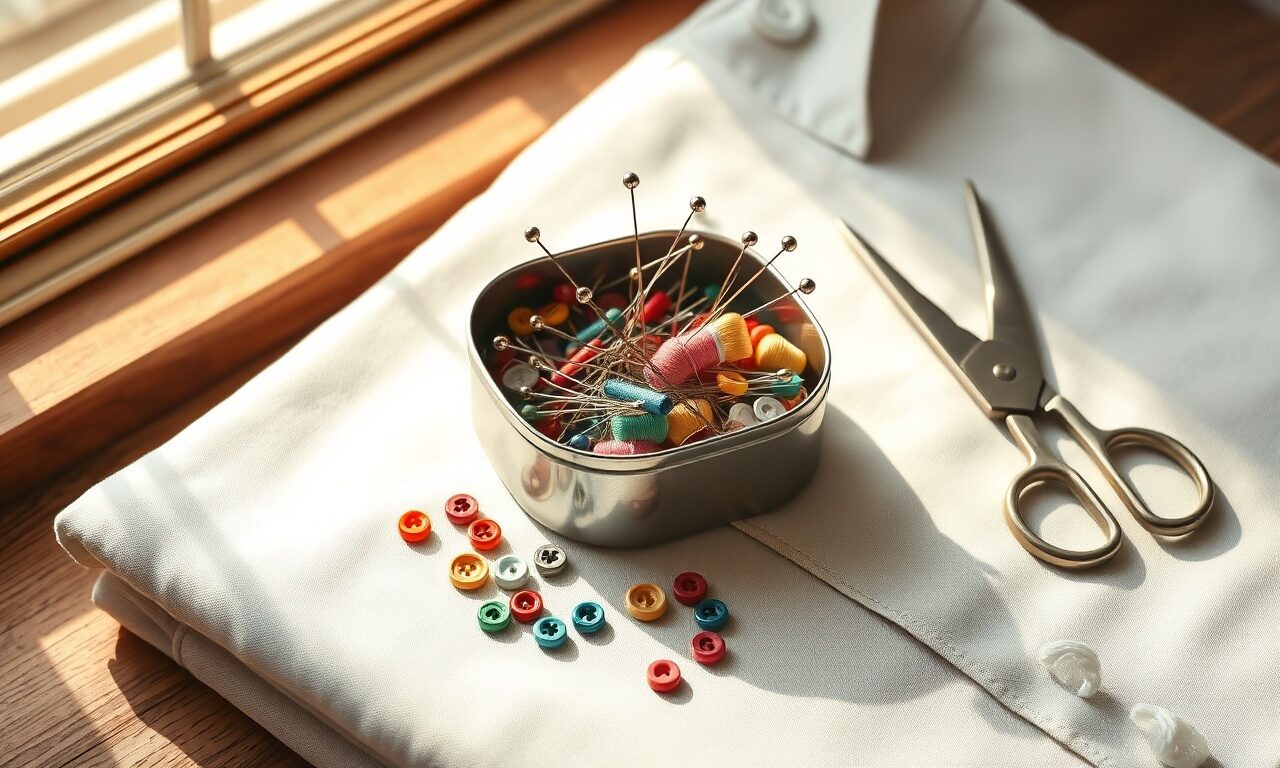
A repair kit fits in a tin. Sharp scissors kept only for fabric, a packet of mixed hand needles, polyester thread in black, white, navy and grey, a few spare buttons, some pins and a seam ripper. That is enough for buttons, seams, hems and patches, which between them account for very nearly everything that goes wrong with ordinary everyday clothes.
Thread quality matters more than needle price. Cheap thread snaps mid-stitch and fluffs as you pull it through the fabric, which is what makes hand sewing feel harder than it actually is. Cut the thread at an angle, work with a length no longer than your forearm, and knot the end properly rather than winding it round a finger and hoping for the best.
- Keep fabric scissors in a separate drawer, because cutting paper blunts them in one use.
- Match thread to the darker shade in the fabric rather than the lighter one; it disappears better.
- Sew buttons over a spare pin to leave a thread shank, so the fabric can sit underneath them.
- Turn the garment inside out and work from the wrong side wherever the repair allows it.
Key takeaways
- Five repairs cover most of a wardrobe, and all five are done by hand at a table.
- Good thread and sharp scissors are the difference between fiddly and straightforward.
- A repair done in the week it happens takes minutes, while one left for months usually gets worse.
The studio writes every chapter from this outline, paints the art and hands you a PDF you can sell the same afternoon.
Start free