
🕯️ Creative practice · Guide
Pour Your First Candles
A tested method for container candles that burn evenly
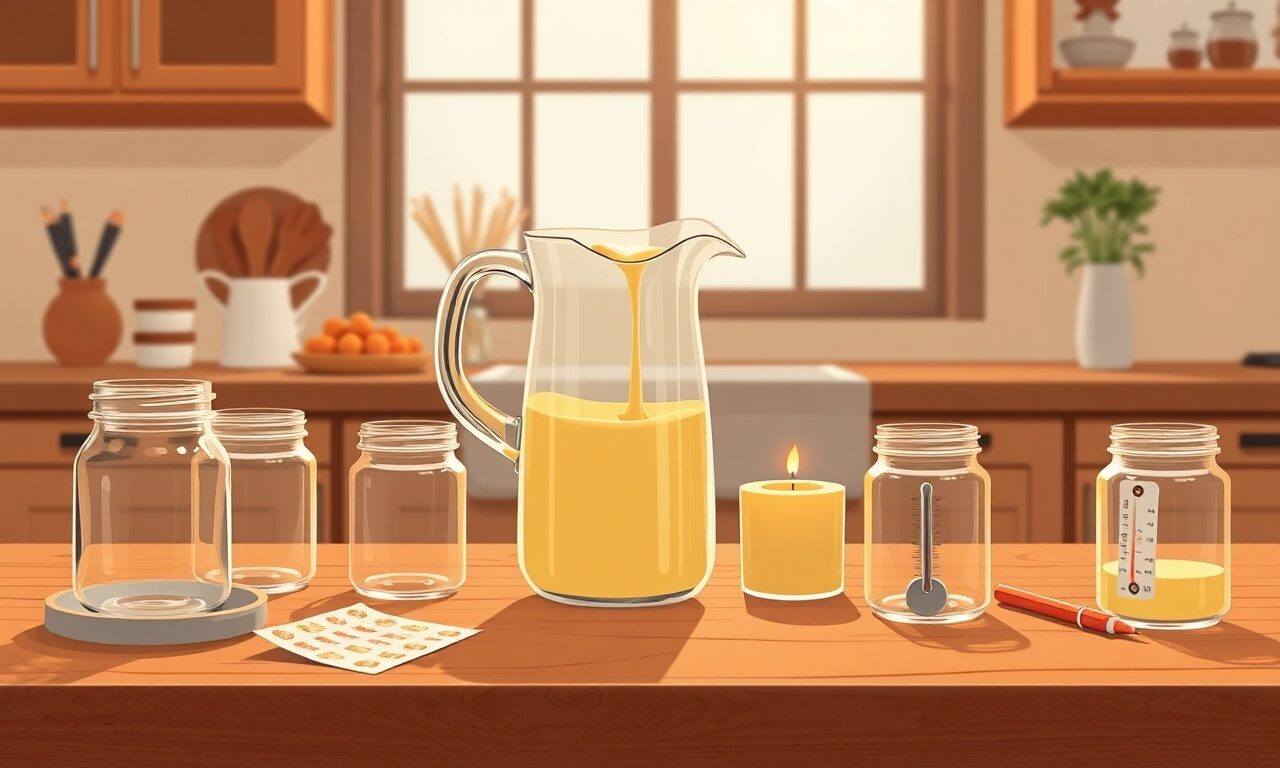
Pour Your First Candles
Your name
A4 · this is a layout preview in the “Checker” design. When you generate, the studio writes every chapter in full, paints the cover and chapter art, and composes a downloadable A4 PDF with your name, bio and store link on it.
A candle is three parts that have to agree with each other: the wax, the wick and the vessel. Change one and you must retest the others. This guide takes you through one narrow, repeatable batch, with a test log that turns a good result into a product you can make twice.
What's inside
- 1Wax, Wick And VesselWhy these three choices are a single decision, and how jar diameter drives everything else. After this chapter you will have selected one wax, one vessel and a short range of wick sizes to test.
- 2Equipment And A Safe SetupThe minimum kit, heat control, and how to lay out a kitchen so hot wax has nowhere unexpected to go. You will finish with a workspace checklist you run before every pour.
- 3Fragrance Load And TemperatureWorking within your wax supplier's maximum load, adding oil at the stated temperature and stirring long enough to bind it. After this you can scent a batch without seepage or a weak throw.
- 4Melting And Pour TemperaturesThe window between melting and pouring, and how pour temperature shows up later as frosting, wet spots or sink holes. You will learn to control the pour rather than react to the result.
- 5Wick Sizing By Test BurnRunning four identical jars with different wicks side by side and reading melt pool, flame height and soot over four hours. After this chapter you can size a wick from evidence instead of a chart.
- 6Curing And Fixing Surface FaultsWhy a candle should be judged a week after pouring, and how to correct frosting, tunnelling and uneven tops. You will end able to diagnose a surface fault back to its cause in the process.
- 7Costing, Labels And SellingCosting a batch including wastage, and what labelling and safety assessment you need before selling in the UK. You will finish with a per-unit cost and a list of the checks to complete before your first sale.
A sample from chapter one
Wax, wick and vessel are one decision
Choosing the wax first and the wick as an afterthought is how most first batches go wrong. The three parts work together: the wax decides how much heat is needed to melt a pool, the vessel diameter decides how wide that pool has to be, and the wick has to be sized for both at once. Change the jar and you change the wick, even with identical wax and fragrance.
For a first batch, keep the variables narrow. Use one container wax, one jar you can buy again easily, and three wick sizes either side of the supplier's recommendation. Pour the same wax at the same temperature into four identical jars with different wicks, then burn them side by side. Four hours of testing will teach you more than a fortnight of reading about it.
- Record wax type, batch weight, fragrance percentage, pour temperature and wick code for every test.
- Burn tests need four hours, because a wick that behaves for one hour can tunnel or soot later.
- Add fragrance at the temperature your oil supplier specifies and stir for two full minutes so it binds.
- If you intend to sell in the UK, check current CLP labelling and safety assessment requirements before your first sale.
Key takeaways
- Wax, wick and vessel are chosen together, or the batch is a guess.
- A written test log is what turns a good accident into a product you can make again.
- Curing changes scent throw, so judge a candle a week after pouring rather than the next morning.
The studio writes every chapter from this outline, paints the art and hands you a PDF you can sell the same afternoon.
Start free