
🖨️ Creative practice · E-book
Printmaking at the Kitchen Table
Relief printing you can do in a flat, with a wooden spoon
Printmaking at the Kitchen Table
Relief printing you can do in a flat, with a wooden spoon
Your name
A4 · this is a layout preview in the “Noir” design. When you generate, the studio writes every chapter in full, paints the cover and chapter art, and composes a downloadable A4 PDF with your name, bio and store link on it.
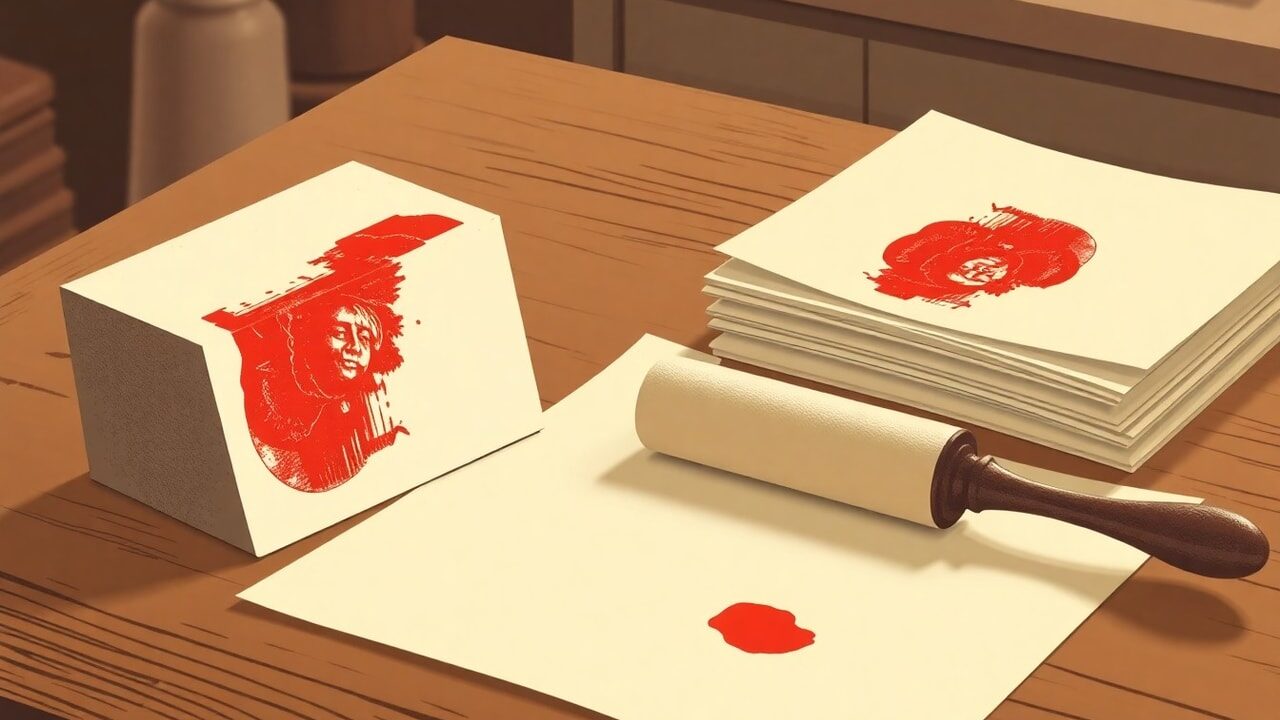
Printmaking has a reputation for needing heavy equipment. Most of it does not. A block, a roller, a slab of glass and a wooden spoon will give you an edition of prints that hold their own on a wall.
What's inside
- 1Choosing a Process You Can RepeatWeighs relief, drypoint and monotype by what each demands in space, time and cleaning. You will pick the process that suits your room and buy a short, honest list of tools.
- 2Cutting Lino CleanlyCovers tool grips, cutting direction, warming the block and the marks each blade actually makes. You will cut a small block without slipping and read your own tool marks as a language.
- 3Ink, Slab and RollerExplains ink consistency, the sound of a correctly rolled slab and how much ink a block really needs. You will be able to judge the ink film by sound and sheen rather than guesswork.
- 4Pressure Without a PressCompares burnishing tools, hand pressure and improvised weight, with a routine for even coverage. You will pull a print by hand that matches a press for evenness.
- 5Registration for Two ColoursBuilds a simple jig from card and tape so a second colour lands where it should. You will print a two-colour image with registration you can repeat across a whole edition.
- 6Editioning, Numbering and StorageCovers proofs, edition sizes, pencil numbering conventions and how to store prints so they stay flat. You will edition a run of twenty and label them the way a gallery expects.
- 7Reduction Prints and What Comes NextIntroduces the reduction method, where one block is progressively destroyed across colours. You will plan a three-colour reduction print and understand what you are committing to.
A sample from chapter one
Choosing a Process You Can Repeat
The best process at home is the one you can set up in ten minutes and clear away in fifteen. That usually means relief printing: lino or vinyl, oil-based ink that stays workable, a glass slab and a hand roller. It is forgiving, the tools fit in one box, and nothing needs plumbing or ventilation beyond an open window.
Etching and screen printing are wonderful and largely incompatible with a shared kitchen. If you are drawn to them, book studio time rather than trying to shrink them into a flat. Meanwhile a lino block, a wooden spoon and good paper will produce an edition of twenty prints that stands next to anything pulled on a press.
- Warm the lino on a radiator for a few minutes and it will cut far more easily.
- Roll the ink out until the slab hisses rather than squelches, because that sound is the right film.
- Use a thin, smooth paper such as a Japanese kozo when burnishing by hand.
- Keep a proof of every state and pencil the date on the back of each one.
Key takeaways
- A process you can clear away in fifteen minutes is one you will actually use each week.
- Hand burnishing with a spoon gives a true edition when the ink film is right.
- Thin, smooth paper does more for a hand-pulled print than any tool upgrade.
The studio writes every chapter from this outline, paints the art and hands you a PDF you can sell the same afternoon.
Start free