
☕ Food & home · Guide
Better Coffee At Home
Four variables, in the order that actually changes the cup
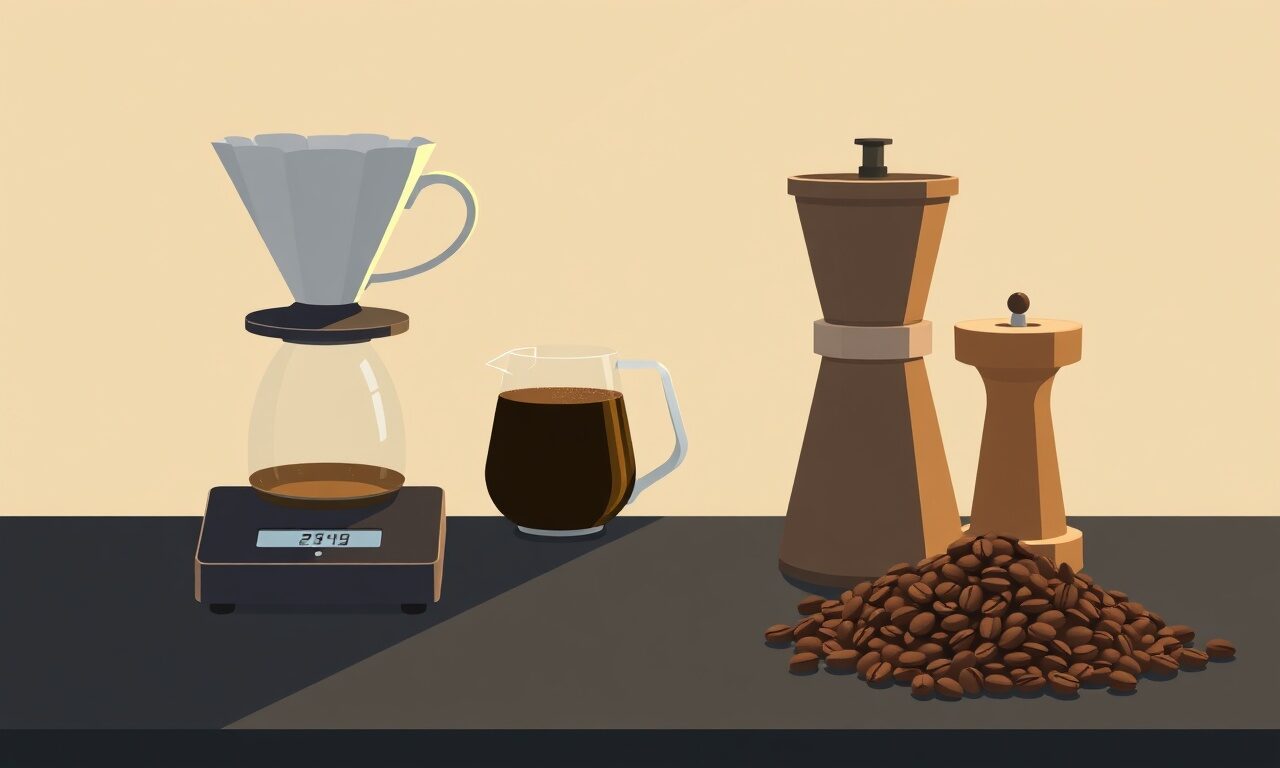
Better Coffee At Home
Four variables, in the order that actually changes the cup
Your name
A4 · this is a layout preview in the “Sticker” design. When you generate, the studio writes every chapter in full, paints the cover and chapter art, and composes a downloadable A4 PDF with your name, bio and store link on it.
Home coffee improves in a fixed order: fresher beans, a better grind, a measured ratio, then technique. Most people start at the end and buy equipment. This guide works through the four variables in order of effect, so each change you make is one you can taste.
What's inside
- 1Beans, Roast Date And StorageReading a bag properly, the window where coffee brews best, and how to store beans once it is open. After this chapter you will buy coffee on roast date rather than on tasting notes.
- 2Grind Size You Can JudgeWhat grind actually controls, how to compare a grind against familiar textures, and why consistency beats fineness. You will be able to adjust a grinder confidently in small, deliberate steps.
- 3Ratios And Water By WeightWeighing dose and water, a starting ratio to work from, and what water temperature and hardness do to the result. After this you can repeat a good cup instead of rediscovering it by accident.
- 4Pour-Over, Step By StepBloom, pour pattern, timing and the drawdown, with the faults each stage causes when rushed. You will finish able to run a repeatable three-minute pour-over and describe what went wrong when it fails.
- 5Cafetière And ImmersionGetting a clean cup from a cafetière, including steep time, the crust, and how to avoid sludge in the last inch. After this chapter your immersion brews will be as consistent as your filter ones.
- 6Tasting And Fixing The CupSour, bitter, thin and muddy, and the single adjustment that corrects each one. You will end with a short diagnostic you can run in the thirty seconds after your first sip.
A sample from chapter one
Start with the roast date
The label to look for is the roast date, not the best-before. Coffee is at its most cooperative roughly one to four weeks after roasting: younger than that and it fizzes with carbon dioxide and brews unevenly, older and the aroma flattens out. If a bag carries only a best-before date a year away, you are buying something that has been sitting in a warehouse for a while.
Keep the beans whole, in the bag they came in, with the air pressed out and the seal closed, in a cupboard rather than the fridge. Grind only what you need, immediately before brewing. Of everything you can change in a home setup, grinding fresh and weighing the dose are the two that alter the cup most, and neither costs anything once you own a grinder and scales.
- Weigh both coffee and water, because volume measures drift by several grams a scoop.
- Start at sixty grams of coffee per litre of water, then adjust in small steps from there.
- Brew just off the boil; thirty seconds after the kettle clicks is close enough without a thermometer.
- If the cup is thin and sour, grind finer; if it is heavy and bitter, grind coarser.
Key takeaways
- The roast date tells you more about a bag of coffee than the tasting notes do.
- A set of scales and a decent grinder change the cup more than a new brewer will.
- Sour means under-extracted and bitter means over-extracted, which is the whole diagnostic in one line.
The studio writes every chapter from this outline, paints the art and hands you a PDF you can sell the same afternoon.
Start free