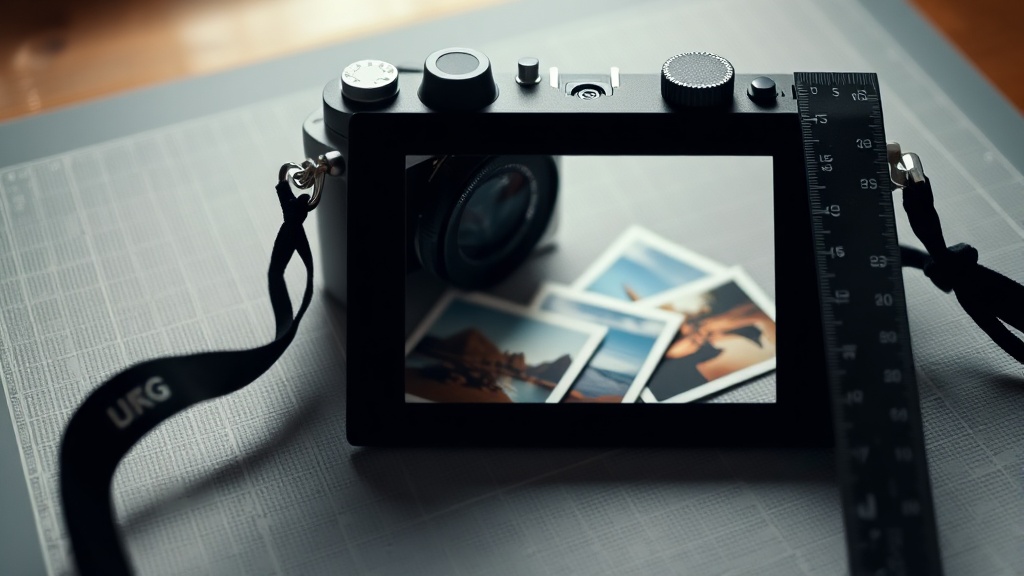
How to photograph a digital product without pretending it is physical
Show the product’s real experience through screens, pages, close-ups and useful context.

You have made something useful, but the usual product-photo habits do not quite fit. There is no box to angle towards the light, no paper edge to sharpen, and no physical object for someone to hold in their mind. A polished laptop mock-up can suggest a digital product, but it can also hide what the buyer is actually paying for. Your job is not to pretend the product is physical. It is to make the digital experience easy to picture.
Start with the experience, not the object
Before taking a screenshot or arranging a desk scene, write down the moment you want the buyer to understand. It might be opening a workbook and finding the right exercise, watching the first lesson, downloading a template or joining a member discussion. That moment gives the image a purpose. If the product helps someone plan, show the planning page. If it teaches a process, show the lesson structure or a useful step inside it.
- 1Choose one action the buyer will take after purchase.
- 2Choose the screen, page or result that makes that action visible.
- 3Remove anything that is not needed to understand the action.
- 4Add a short caption explaining what the viewer is seeing and why it matters.
Build a small set of useful images
One image rarely answers every question. A cover image can identify the product, but it may not show its depth. A close-up can show detail, but may not explain where that detail sits. Think of the product gallery as a short walkthrough. Each frame should answer a different question before the buyer has to ask it.
| Image | What it should answer |
|---|---|
| Overview | What is this product and what kind of experience does it offer? |
| Inside view | What will I see when I open or join it? |
| Close-up | How thoughtfully made, readable or practical is it? |
| Context | Where and when would I use this? |
| Result | What can I make, decide or complete with it? |
Use screens without making them feel flat
For a screen-based product, start with a clean screen capture at a readable size. Crop away browser tabs, notifications and unrelated windows. Then consider placing that capture in a simple context: a phone held in one hand, a tablet beside a notebook, or a laptop on a plain desk. The context should help someone imagine using the product, not compete with it.
- Use a real screen capture for text, menus and diagrams so the detail stays credible.
- Use a device photograph when scale or portability is part of the buying decision.
- Show a close-up when the product contains small type, illustrations, templates or interface controls.
- Keep reflections and glare away from important content.
- Use the same crop, background and colour treatment across the set so the images belong together.
Photograph the parts buyers cannot otherwise inspect
Digital products still have visible construction. A course has a lesson list, a workbook has a sequence of pages, a membership has an area to browse, and a download may include several files. Show these structural details. They help the buyer judge whether the product is organised for real use rather than assembled as a single attractive cover.
For a downloadable product, you might show the cover alongside two interior pages and a small view of the file list. For an online course, show the course outline and one lesson screen. For coaching, show the booking or preparation experience only if it is genuinely part of the service. If you sell files through store.fan digital downloads, make the image reflect the files the customer will actually receive, not a more elaborate version you may create later.
Make the image honest and readable
The strongest image is often less dramatic than the most polished mock-up. Buyers need to see enough detail to form an accurate expectation. Use a neutral background, consistent light and a screen brightness that resembles normal use. If you add decorative objects, keep them outside the main reading area. A mug, pencil or plant can establish scale; it cannot explain the product.
Put the visuals where buying happens
Your images should appear beside a description that names the format, access method and practical contents. If someone sees a phone screen, tell them whether they are buying a download, accessing a browser-based course or joining a membership. Ambiguity is not improved by better lighting.
On your own storefront, you can keep that explanation close to the product instead of sending people between a social profile and a separate checkout. store.fan's storefront designer gives you a place to arrange the visual hierarchy around how your products are understood. You can use the free plan as a link-in-bio page, while paid plans start with a 14-day trial if you need selling features.
A simple presentation also makes the economics easier to explain. store.fan takes 0% of sales, while Stripe's own processing fee still applies and money goes straight to your Stripe account. That does not make a weak product image effective, but it means your storefront can be the clear next step after someone understands what you are offering.
A practical shoot for one afternoon
- 1List the five questions a cautious buyer might ask about the product.
- 2Capture one image that answers each question.
- 3Review every frame at the size it will appear in your storefront.
- 4Blur names, email addresses, client work and private community posts.
- 5Write captions that describe the visible feature rather than making a broad promise.
- 6Ask one person unfamiliar with the product what they think they would receive.
Yes, if it helps communicate where or how the product is used. Put a real screen capture inside it, and include at least one image where the content is large enough to inspect. The device is context; it is not the evidence.
Show a readable page, a wider view of the structure and a detail that demonstrates the writing or layout. Avoid shrinking every page until the words become decoration. A short sample or contents view can support the images.
Use enough to cover the main questions without repeating yourself. For a small product, an overview, an inside view and a result may be sufficient. A larger course or membership may need additional views of navigation, sections and the member experience.
Show your digital product clearly, then give people a straightforward place to buy it.
Start on store.fanTurn your knowledge into income
Launch your Store.Fan in minutes — sell digital products, courses, and calls straight from your bio. Free to start.