Filming Your Course on a Phone: A Creator's Guide to Pro-Looking Lessons Without Studio Gear
No ring light, no mic budget, no problem — the exact phone settings, framing tricks, and free editing habits that make lessons look polished.
The gap between a course that looks like a $2,000 production and one you shot in your bedroom this afternoon is almost never the camera. It's a stack of books, a window, and twenty minutes of habits most creators skip because they assume good video needs a lighting kit and a studio mic. It doesn't. The phone in your pocket already shoots better footage than most YouTube channels used five years ago — the real gap is technique: where you point it, how the light falls, and what you do with the file after you stop recording. This guide is production only: the exact steps to walk away with finished, watchable lesson files, ready to upload the moment you stop editing.
Lighting: the one variable that decides everything
If you fix nothing else, fix this. Bad lighting is the fastest way to make a lesson look amateur, and the cheapest thing to correct — the best light source you own is almost certainly a window. Face it directly; light behind you turns you into a silhouette, like on every bad video call. Midday sun creates raccoon-eye shadows; shoot in the couple hours after sunrise or before sunset, or on an overcast day. Wrong-direction window? A plain white bedsheet taped over it diffuses harsh sun into something flattering in under a minute.
Also check your background before every shoot. A cluttered shelf or open closet door reads as unprofessional even with perfect lighting — a plain wall, tidy bookshelf, or a plant in the corner all work, as long as it stays consistent across the module.
Framing and stability: the tripod you already own
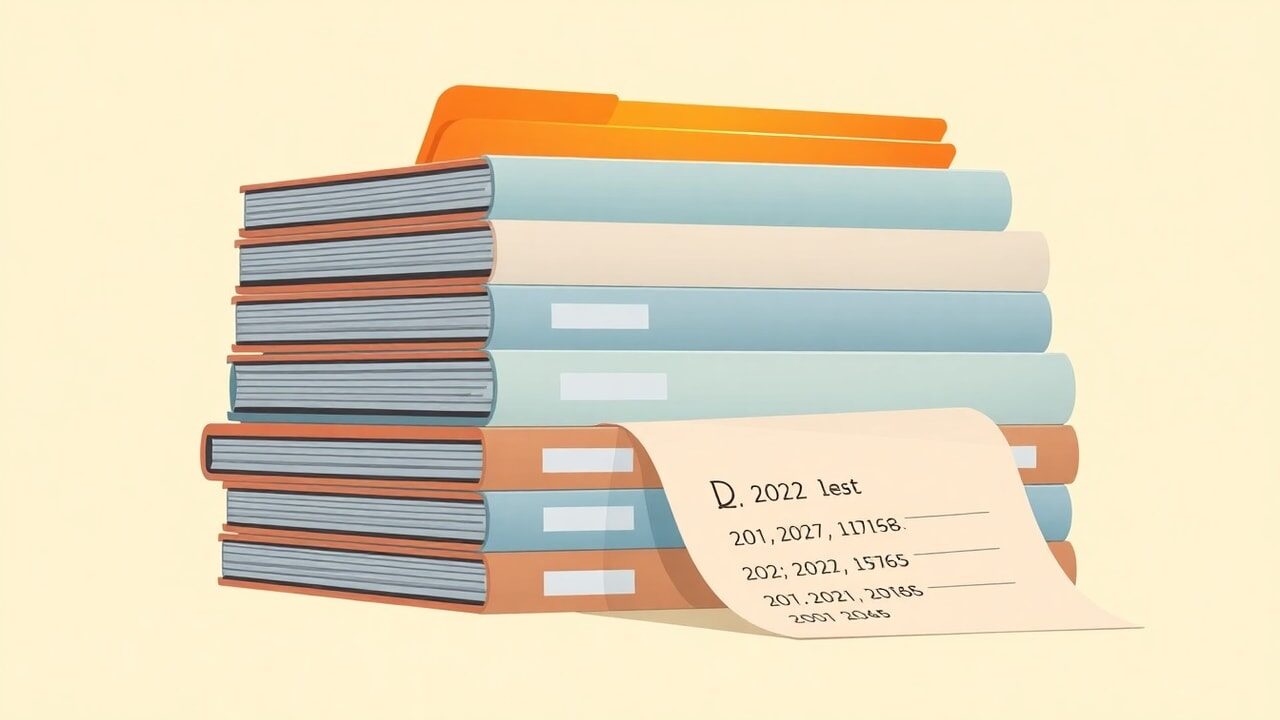
You don't need to buy a tripod. A stack of hardcover books, an upside-down mug, or a pile of sticky-note pads all work as a stable phone stand — the goal is eliminating handheld shake, which reads as unwatchable within five seconds. Prop your phone in landscape orientation, at roughly chest-to-eye height, angled slightly up rather than down. A downward angle looks like a security camera; a slight upward angle feels like eye contact.
Frame yourself with some headroom but not too much — eyes roughly in the top third of the frame, shoulders and a bit of chest visible below. Leave a little negative space to one side for text callouts later. Lock focus and exposure by tapping your face and holding until AE/AF LOCK appears (iPhone) or long-pressing the subject (Android) — this stops the camera re-adjusting brightness every time you move.
Screen recording vs. talking-head: pick one per lesson
Most courses mix both, and mixing them within a single lesson usually beats an entire module of one or the other. Talking-head builds trust — students want to see you frame the promise before you dive into a tool. Screen recordings are for anything procedural: clicking through software, a spreadsheet, a template walkthrough. Decide the split before you record; switching mid-lesson without a plan leads to messy footage.
| Lesson content | Best format | Quick tip |
|---|---|---|
| Intro / welcome | Talking-head | Record this last, once you know what you covered |
| Software walkthrough | Screen recording + voiceover | Record screen first, narrate after — fewer retakes |
| Mindset segment | Talking-head | Batch these together to keep energy consistent |
| Template review | Screen recording | Zoom into the relevant section, don't show the whole screen |
| Recap / next steps | Talking-head, short clip | Under 60 seconds — a transition, not a lecture |
Audio: the thing students actually notice
Here's the uncomfortable truth: viewers forgive slightly soft video far more than bad audio. Muffled, echoey, or hissy sound triggers an instant reflex to click away, even on an otherwise great lesson. Your phone's built-in mic is fine for casual content, but for a paid course, a wired clip-on lavalier mic (roughly $15-25) is the single highest-leverage purchase you can make — it sits inches from your mouth and cuts most room echo automatically.
Five-minute audio setup
0/5Students will forgive a shaky camera or a plain background. They will not forgive not being able to understand what you're saying.— common feedback from course creators reviewing their own analytics
Batching: how to shoot a whole module in one afternoon
Filming lesson-by-lesson over separate days is where most creators lose momentum — lighting, wardrobe, and energy shift slightly every session, making the module feel disjointed. Instead, outline a whole module (five to eight lessons), set lighting and mic once, and record all talking-head segments back to back without changing the setup. That habit alone is the difference between a module that feels cohesive and one that feels like five clips stitched together.
- 1Write one-line outlines for every lesson before you press record on any of them
- 2Set up lighting, mic, and framing once, then leave the phone in place all session
- 3Record talking-head segments in order, retaking immediately if you stumble
- 4Switch to screen recordings for procedural lessons once talking-head clips are done
- 5Spot-check audio and framing every few lessons in case the phone shifted or light changed
Editing: what actually needs fixing (and what doesn't)
You do not need color grading or a title sequence for a first course. You need a clean trim: cut dead air, remove flubbed takes, add burned-in captions if your content is technical — captions alone measurably improve watch-through. Free tools handle this: CapCut and iMovie are drag-and-drop for trimming and captions; DaVinci Resolve is free and more powerful for color or audio cleanup.
Export each finished lesson as its own file, named clearly by module and number (e.g., 02-3-email-templates.mp4), at 1080p — the sweet spot between quality and upload size. Once files are exported and organized, they're ready to attach directly to a course product on your storefront, where students get instant access the moment they pay. If you haven't set that up yet, it takes minutes to create your store before your footage even finishes exporting.
Common mistakes that undo good footage
- Recording vertically for a course meant to be watched on a laptop — always shoot landscape
- Standing with a bright window directly behind you, turning your face into a shadow
- Recording an entire module before checking a single clip back — always review your first take first
- Using your phone's default super-wide lens up close, which distorts your face — step back and zoom in slightly instead
- Skipping a test upload — export one lesson and watch it on your phone before batching the rest
For casual content it's fine, but for a paid course, a $15-25 wired lavalier mic makes a noticeably bigger difference than any camera upgrade. Audio clarity is the top factor in whether students finish a lesson.
1080p (1920x1080), landscape orientation, MP4 format is the standard that plays cleanly everywhere and keeps file sizes reasonable for uploading to your course product.
Bullet-point outlines work better than full scripts for most creators — full scripts tend to sound stiff on camera. Know your three or four key points per lesson and talk naturally through them.
Shorter than you think — 4 to 10 minutes keeps completion rates high. Split a long topic into two lessons rather than stretching one to 20 minutes.
Upload the finished files to a course product on your storefront — buyers get instant, automatic access after checkout, no manual delivery needed on your end.
None of this requires a studio, a crew, or a gear budget — just a window, a stack of books, a cheap mic, and the discipline to batch a module in one sitting instead of dragging it out over weeks. Once your files are trimmed, captioned, and exported, the production work is done; the only thing left is getting them in front of people who'll pay. That's where store.fan comes in, turning finished lesson files into a sellable, instantly-delivered course. Browse a live example store to see how a finished course looks to a buyer.
Your lessons are shot and edited — now give them a storefront that delivers instantly the moment someone pays.
Start freeStuck on file formats or organizing modules once you're building the product page? Contact support — and for more on pricing and launching your course, the blog has the rest of the playbook.
Turn your knowledge into income
Launch your Store.Fan in minutes — sell digital products, courses, and calls straight from your bio. Free to start.