Stripe or PayPal (or Both)? A Creator's Guide to Connecting Payments on store.fan
Here's exactly how to pick, connect, and even combine Stripe and PayPal so no fan ever bounces off your checkout.
Somewhere right now, a fan is tapping your bio link, landing on your storefront, adding your ebook or your coaching call to checkout — and abandoning it in the last three seconds because the payment button asks for a card number they don't have handy, or a login they can't remember. Payment setup is the one piece of your storefront that has nothing to do with your content and everything to do with whether that content ever gets paid for. The good news: on store.fan, this isn't a fee-percentage spreadsheet exercise. It's a five-minute decision about which door you want fans to walk through, and you're allowed to open more than one.
The real question isn't which is cheaper — it's who shows up ready to pay
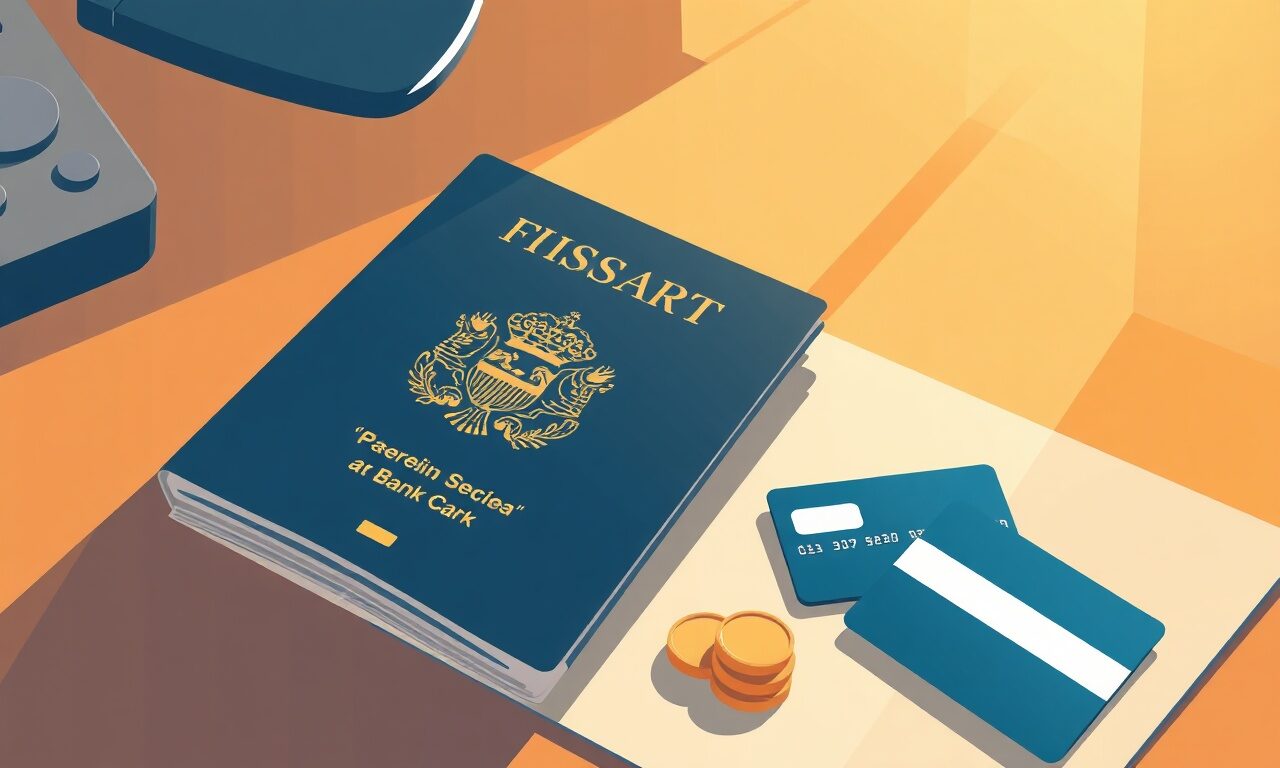
Every creator eventually Googles "Stripe vs PayPal fees" and falls into a rabbit hole that doesn't actually change their outcome much. The more useful lens is buyer behavior. Stripe processes cards directly, plus it automatically unlocks Apple Pay and Google Pay — so a fan checking out on their phone can pay with a fingerprint or a face scan without typing anything. PayPal, on the other hand, wins over a completely different kind of buyer: the person who doesn't want to enter card details on an unfamiliar site at all, who trusts the green PayPal button more than they trust you yet, or who is buying from a country where a PayPal account is more common than a saved card. Neither buyer is wrong. Your job is to make sure whichever one shows up doesn't leave.
Setting up Stripe: the one-click option built for speed
If you had to pick exactly one payment method to launch with, Stripe is the default answer for most creators, and the setup reflects that — it's a one-click connection from your store.fan dashboard. You're not manually wiring up API keys or reading developer docs; you click connect, verify your identity with Stripe directly, and you're live.
- 1From your dashboard, find the payments section and click to connect Stripe.
- 2You'll be walked through Stripe's own verification — basic identity and bank details, so your money lands directly in your account.
- 3Once connected, card payments, Apple Pay, and Google Pay all switch on automatically at checkout — you don't configure those separately.
- 4Test it yourself: open your storefront in an incognito window and run a real (or test) purchase so you see exactly what a fan sees.
That last step matters more than it sounds. Creators who skip testing their own checkout are often the last to find out a step feels confusing, because they've never actually clicked "buy" on their own store. Five minutes now saves you a week of silently wondering why conversions feel low.
Setting up PayPal: just an email address
PayPal is even lighter to connect — there's no account-linking flow to walk through, just an email address tied to your PayPal account. Add it in your dashboard's payment settings, and it appears as a checkout option immediately. This is exactly why it's worth adding even if Stripe is your primary method: the marginal setup cost is close to zero, and the upside is capturing every fan who would have otherwise closed the tab.
- Use it as your only method if your audience skews toward a region or age group where PayPal is the default (this is common for buyers who don't use cards day-to-day, or who are wary of typing card numbers into a page they haven't bought from before).
- Use it alongside Stripe if you want to cover both the fast-tap-to-pay crowd and the trust-first crowd in a single checkout.
- Watch your customer list after adding it — you'll often see a quiet uptick in completed sales from segments you didn't realize were stalling out before.
Why running both isn't overkill
It's tempting to think offering two payment options adds friction — more buttons, more decisions. In practice it's the opposite: a fan who already knows which one they want just clicks it and moves on. The friction was always in not having their preferred option, not in having a choice. Think of it less like a fork in the road and more like having two doors into the same room. Nobody stands in the lobby debating which door to use; they just walk through the one closest to them.
You don't lose sales by offering two ways to pay. You lose sales by only offering the one your fan doesn't trust yet.— store.fan team
This matters even more if you sell across formats — say, a low-priced digital download alongside a premium 1:1 coaching call. A first-time buyer grabbing your $9 template might be far more payment-cautious than a warm subscriber booking a $150 call with you. Covering both payment rails means you're not accidentally filtering out your easiest, lowest-commitment sales because the checkout only speaks to your highest-trust fans.
What happens after the click (and why it removes your excuse to delay)
One reason payment setup gets procrastinated on is a lingering assumption that "connecting payments" means ongoing manual work — invoicing, chasing down files, answering "where's my download?" DMs. On store.fan, it doesn't. The moment a payment clears through either Stripe or PayPal, delivery is instant and automatic: the buyer gets their download link on-screen immediately and by email as backup, and course access or meeting links go out the same way. You're not the delivery mechanism. The payment connection is the entire mechanism.
That's also why this is worth doing before you promote anything, not after. A creator who posts their store.fan link to 10,000 followers with payments half-configured is spending attention they can't get back. Attention is the expensive part of this business; a five-minute Stripe connection and a PayPal email are the cheap part. Do the cheap part first.
A simple decision path
If you're staring at your dashboard right now trying to decide where to start, use this:
- Just launching, no strong signal on your audience yet? Connect Stripe first — the one-click setup and automatic Apple Pay / Google Pay support cover the widest default behavior.
- Audience is international, older, or skews toward buyers who avoid typing card details online? Add your PayPal email alongside it — takes minutes, costs nothing to try.
- Already selling but noticing stalled checkouts in your customer list or feedback in your inbox? That's the signal to add whichever method you're missing, not to second-guess your pricing.
- Selling a mix of low-ticket downloads and high-ticket coaching or courses? Run both from day one — different price points quietly attract different levels of buyer trust.
None of this requires a finance background or an hour of research. Connect Stripe, add a PayPal email, run one test purchase on your own storefront, and move on to the part of this business you actually enjoy — making the thing your fans are about to pay for. The checkout's job is to disappear. Set it up once, cover both doors, and let it.
Turn your knowledge into income
Launch your Store.Fan in minutes — sell digital products, courses, and calls straight from your bio. Free to start.